The Snowflake is a branching outline based on the Snowflake Method: you start with your story in a single sentence and grow it outward, branch by branch, into books, chapters, scenes, events and worldbuilding. It's a good place to think big-picture before the detail, and you can export the whole tree as a Markdown or PDF outline.
Opening the Snowflake
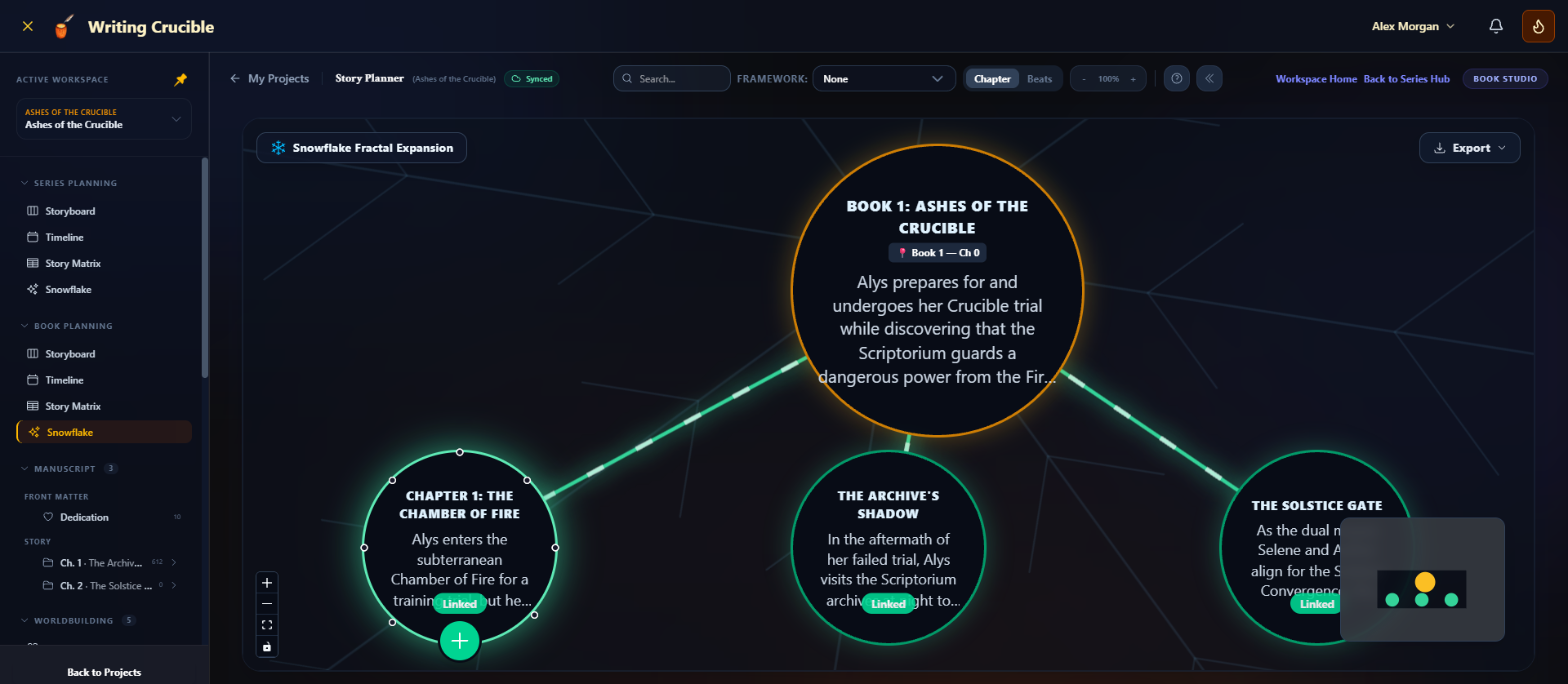
In the project sidebar, under Book Planning, click Snowflake. The first time, Writing Crucible puts a starting node in the middle of the canvas, using your book's title and description. Click it and write your one-sentence summary in the Inspector.
Under Series Planning, the starting node is the series, and you branch out into its books.
Adding nodes
1. Start a branch
Hover over a node and click the + below it (Add Branch). The Add Node dialog opens.
2. Choose a node type
Planning (Generic): an idea, theme or note that lives only on the Snowflake.
Book: a book in the series. Books can't be placed inside another book's branch.
Chapter: a chapter. Chapters must sit under a book (on a book's own Snowflake, the starting node counts).
Worldbuilding: a character, location or other element.
Event: a timeline event.
Scene: a scene.
3. Create something new, or link something you already have
For every type except Planning, choose Create New or Link Existing.
Create New makes the real thing, not just a node:
A book is added to your series, at the Book Order in Series you choose.
A chapter is added to the end of the book, with your description as its chapter summary.
A scene is added as an unassigned scene, ready to drag into a chapter on the Storyboard.
An event is added to the Timeline, on Year 1, Month 1, Day 1. Open it on the Timeline to set the real date.
A worldbuilding element is added to your worldbuilding, with the Element Type you pick.
Create New keeps to your plan's limits, as the rest of the planner does. If a new book, scene, event or outlined chapter would go over a limit, you'll see the limit message instead, with Upgrade Plan to see the plans.
Link Existing lets you pick one you already have. Linking a scene also moves it: if you link it under a chapter node, the scene moves into that chapter.
4. Save
Click Create Node or Link Node. The new node appears on a branch from its parent, and is coloured by type.
Editing nodes
Click a node to open it in the Inspector. Edit its title and Content / Summary; changes save when you click away. A Linked badge means the node is connected to a real scene, chapter, event, book or element. For a linked scene, chapter or event, editing the title or text here changes the scene, chapter or event itself, and editing them elsewhere in the planner updates the node. For a chapter, the text is its chapter summary; the rest of its outline is left as it is. Only the field you changed is saved.
Clicking a Worldbuilding node shows the element's details as they stand at that point in your story, and may create a new version of the element for that point. See Story Planner Overview for how this works.
Arranging the canvas
Move a node: drag it. Its position is saved.
Attach a node to a different parent: hover over the new parent so the small dots around its edge appear, then drag from one of them onto the node you want to move under it.
Collapse a branch: click the arrow above a node (Collapse Branch / Expand Branch) to hide or show everything under it. Deep branches start collapsed.
Zoom and pan: use the controls in the bottom-left corner, scroll to zoom, or drag the background. The mini-map in the bottom-right shows where you are.
In Series Planning, moving a chapter or event node from one book's branch to another's moves it between books for real. You'll be asked to confirm first (Confirm Move). A chapter moves with its outline, scenes and version history. For an event, choose under Scenes Migration Policy whether its scenes go with it.
Removing nodes
Open the node in the Inspector and click Delete Branch, then Confirm. For a worldbuilding node, click Remove from Canvas, then Yes, Remove. This removes the node and every node branching from it. It doesn't delete the book, chapter, scene, event or element any of them were linked to.
Deleting a chapter from your book also removes its chapter node from the Snowflake, along with that node's branch.
Exporting
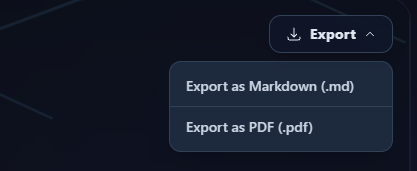
Click Export in the top-right corner and choose Export as Markdown (.md) or Export as PDF (.pdf). You get a numbered outline of the whole tree (1, 1.1, 1.2 and so on), with each node's title, type and text. The file downloads straight to your computer.
Books in a series
If a book already appears as a node on its series' Snowflake, the book's own Snowflake opens on that branch, with the book as the starting node. It's the same tree: nodes you add, edit or delete from the book are saved to the series' Snowflake, and show there too.
In a book that belongs to a series, worldbuilding nodes create and open elements in the series' worldbuilding.